This project had lots of ups and downs. Thankfully the final result is a big UP, so I may actually to do another one.... someday. Here is a picture of my final pride and joy, all beautiful and shiny.

I found the original table at Goodwill for $12 WAHOO! I needed a console table with very specific dimensions for an angled wall in my family room. I wanted it to fit over the top of the awkwardly ugly subwoofer that is on that wall, so my requirements were pretty tough to shop for. When I saw this beauty I saw huge potential. The bottom legs were too short but I was confident I could take them off and find some longer ones. Gotta have faith... right?


I was really torn on whether or not to sand and stain it or just prime and paint it, which would be the easier route. At first I decided to prime and paint it. And since I never do what I decide, I went ahead and started sanding it. I sanded and sanded some more, using my hubby's electric sanding tool thing. My whole arm was in a constant state of numb vibrating aftershocks when I was done. Oh, and I took the whole thing apart before starting too.

Then I bought some stains, thinking I would go for a look I saw on All Things Thrifty.

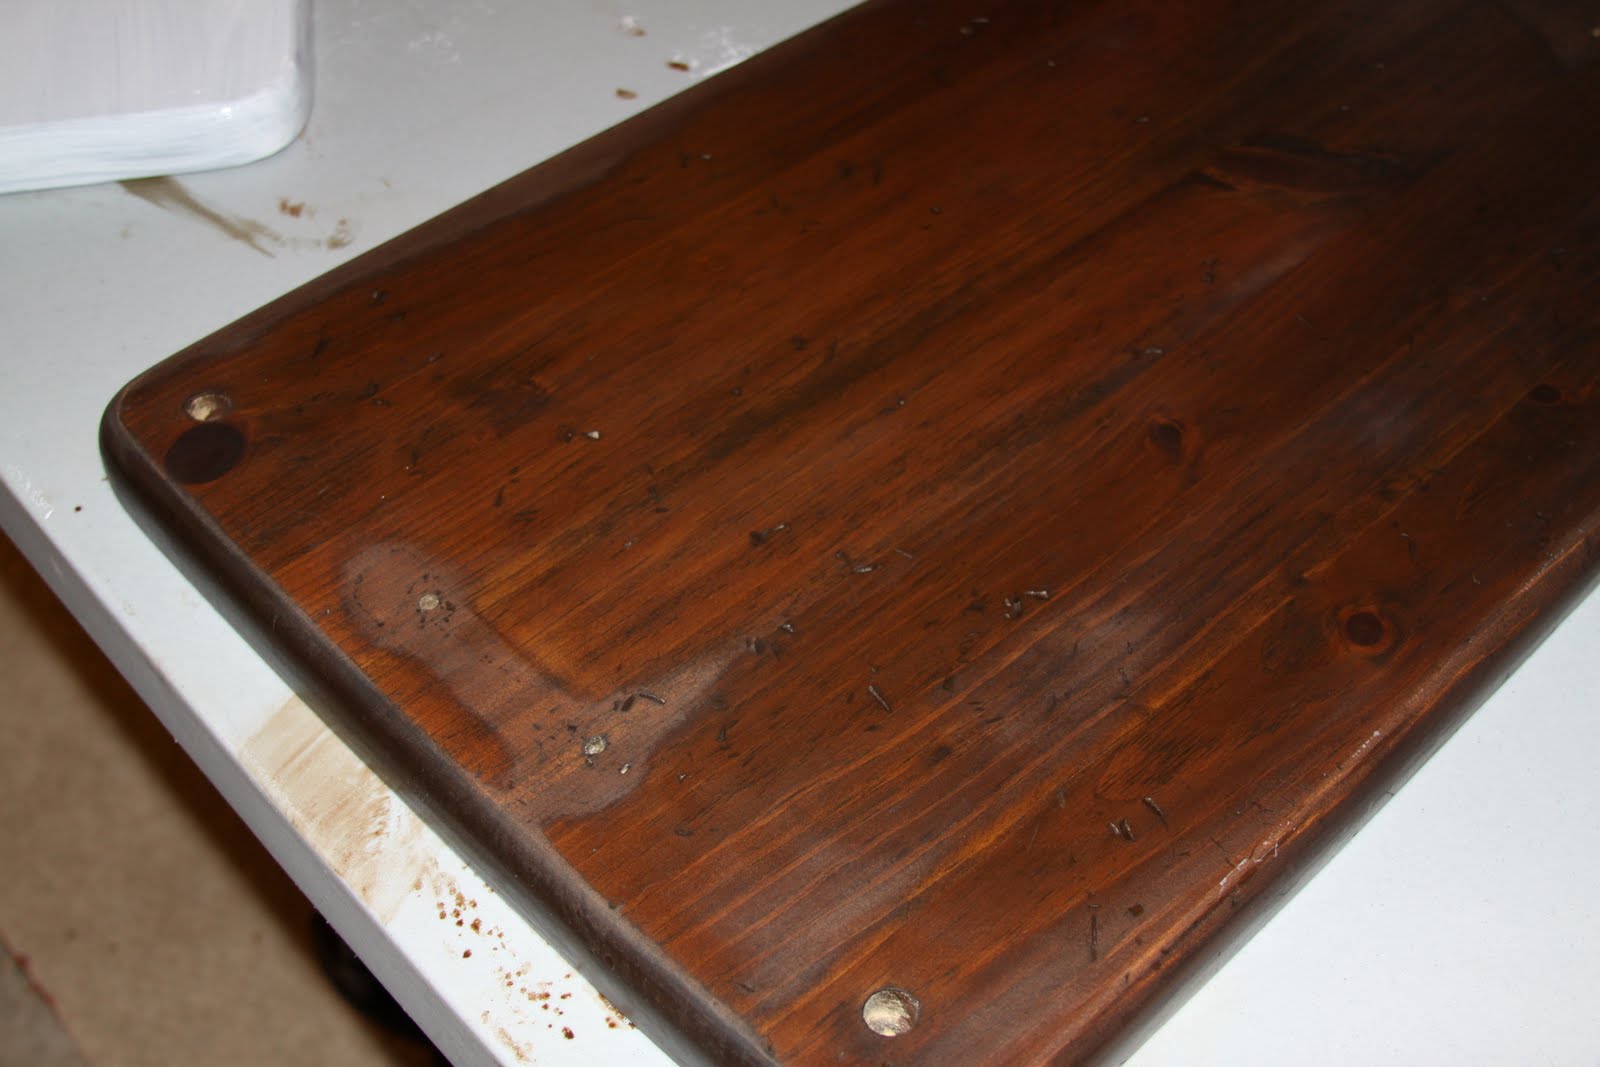
After staining I noticed that the wood was flashing. Some parts of the table were absorbing the stain differently. So I tried adding another coat of a darker stain to see if it would help. It didn't. So then I talked to my Dad, who is brilliant when it comes to anything with wood and he suggested sealing it with benite. So I did that and then stained it again. Didn't help. Staining this table had become a hopeless cause. All of the sanding, staining, restaining, sealing, and staining again took quite a bit of time. I was feeling a bit frustrated at this point.
Here is my table flashing you.
So... I went back to what I originally had decided to do. Prime and paint. But I felt a little intimidated by picking a paint color. On a whim, I posted a comment at one of my favorite blogs, Centsational Girl, and asked her for advice on painting colors. To my total surprise and delight, Kate emailed me back and offered to give me her opinion on a paint color. I sent her some pictures and she sent me back her thoughts. I totally love her style and decorating "sense", so I completely agreed with her. Go with a lighter color like cream to help brighten up the space in the room. YEAH! Thanks Kate!
I primed and then spray painted the whole thing. Spray painting was also a new adventure for me, so it was a learning process, but I think I got the hang of it in the end. I used a Satin Ivory Silk by Rust-oleum.
Oh, and I forgot to mention that I went on the hunt for new legs for the table while all this was going on. I got really lucky and found some on clearance that were just the right height and look.
All primed and ready to paint.

Spray painting... i need a workshop for stuff like this! The garage isn't ideal by any means.

After painting it ivory I knew it needed something else. So I steeled my nerves and decided to glaze it. I used this technique from All Things Thrifty. It worked perfectly. I LOVE the final look of it.

Then it was time to add my new leg brackets and screw the whole thing back together again. I was proud of myself, I did the reassembly ALL BY MYSELF. No husband. It wasn't easy either. I can take credit for this piece 100%. It's such an amazing feeling. I took about 50 pictures of the final product. But I've yet to get it all decorated in the family room space, so these pictures of it just by itself will have to suffice for now.


It was such a great learning experience and I know the next time will be a lot easier. It's great to know that I accomplished this and that I CAN do something like this if I want to.
